Every All Blacks player graded from Rugby’s Greatest Rivalry – at least four flopped
Rugby NewsSunday, 13 September 2026 at 23:10
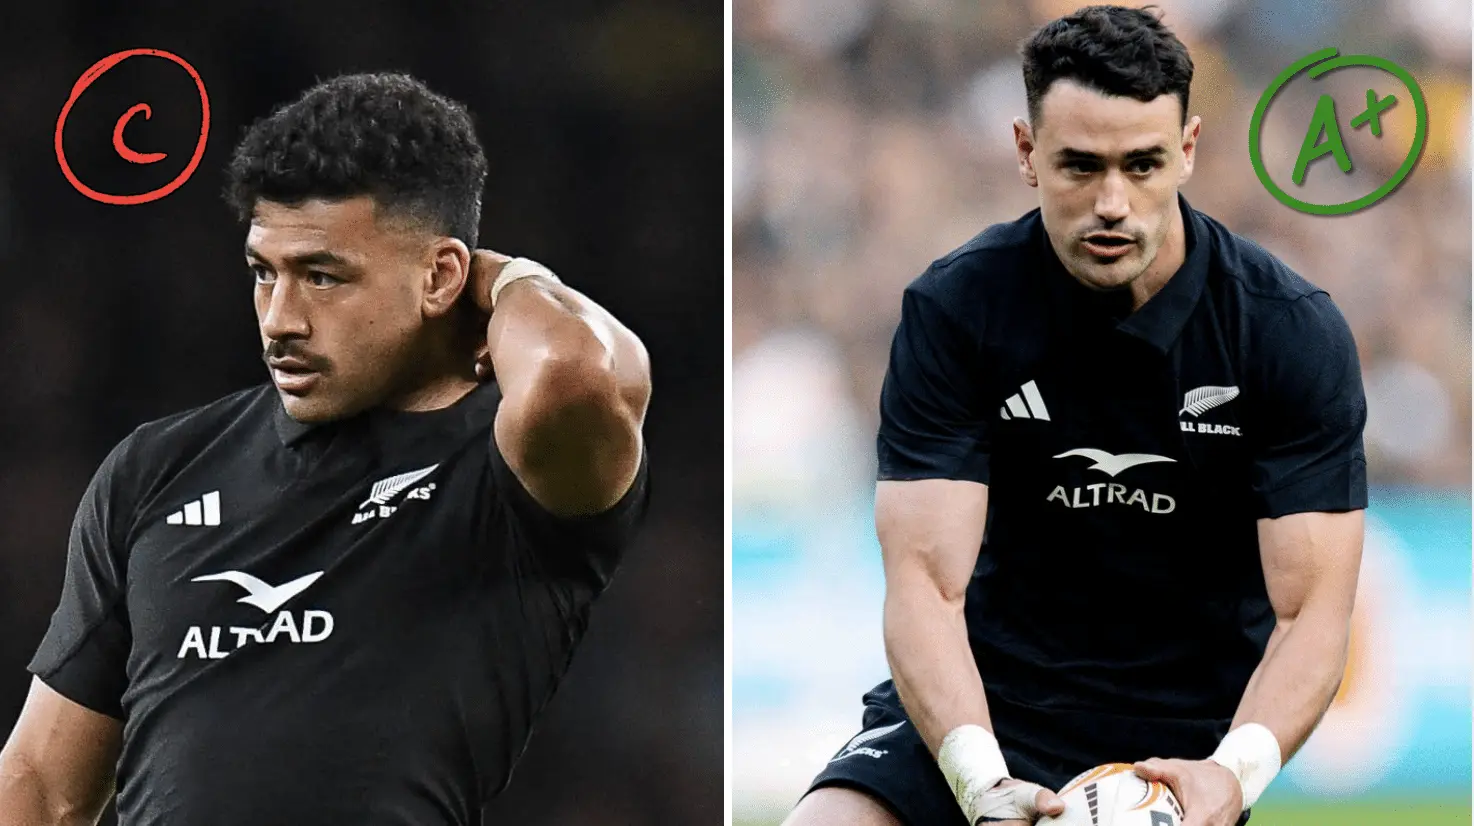

New Zealand may have lost the Rugby’s Greatest Rivalry series 3-1, but Dave Rennie’s side produced a valiant effort against the world champions.
Across four fiercely contested Tests, several All Blacks enhanced their reputations while others struggled to make the desired impact.
Here, we grade every New Zealand player who featured against the Springboks, with these grades based solely on the four Tests, not the warm-up matches.
⭐ Save us to your Google Favourites for nonstop RUCK content!
Jordie Barrett: A+
Few All Blacks matched Barrett’s consistency across the four Tests.
The first Test showcased outstanding defensive work, while further appearances in the other three games brought more of the same reliability.
Turnovers, crucial tackles and an ability to shut down dangerous Springbok attackers established the midfielder as New Zealand’s outstanding player.
Cam Roigard: A
Energy was the defining feature of Roigard’s tour.
Constantly probing around the ruck, the scrum-half offered a genuine attacking threat while his kicking and try assists demonstrated a broader skill set.
Even as South Africa gained control of the series, there was no shortage of intent, making Roigard one of New Zealand’s biggest positives.
Quinn Tupaea: A
Three appearances, three largely excellent contributions.
Defensive commitment set the tone in the first Test, before the second at DHL Stadium produced perhaps the highlight of Tupaea’s tour as he topped the carry count.
The third Test was quieter, yet the physicality, breakdown work and relentless support play remained evident. Consistency made the centre one of New Zealand’s safest performers.
Will Jordan: A
The tour began with a try at Ellis Park, although some uncertainty under the high ball remained.
Jordan became increasingly influential from there, producing a game-high tally of tackle busts in the second Test before adding another important turnover at FNB Stadium.
Across the series, the threat in attack was rarely absent.
Peter Lakai: A-
Two Tests were enough for Lakai to make a serious case for greater involvement.
A composed showing in the third Test was followed by an excellent performance at M&T Bank Stadium, featuring two linebreaks and 13 carries despite an early HIA.
Versatility across the loose forwards, combined with genuine carrying power, made the youngster particularly encouraging.
Wallace Sititi: A-
Limited minutes hardly tell the full story.
Sititi impressed in the third Test before being introduced earlier than expected at M&T Bank Stadium following Lakai’s HIA, immediately adding some much-needed carrying power.
Returning later in the contest, another energetic spell included a forced offload during a promising attack. There was plenty to like despite the restricted opportunities.
Ardie Savea: A-
Leadership and relentless work around the field remained Savea’s calling cards throughout the series.
Strong carrying and breakdown contributions helped New Zealand create opportunities in the opening win at Ellis Park, while the second Test brought an outstanding break and a late try.
Four missed tackles in that second Test were the only real blemish on an otherwise outstanding tour.
Fabian Holland: B+
A superb charge-down and try at Ellis Park neatly captured Holland’s impact during the opening Test, but the work rate behind that moment was arguably more impressive.
The second Test brought another industrious display before the lock’s influence diminished somewhat in the third Test.
Across three Tests, the physicality and relentless effort represented a major step forward.
Luke Jacobson: B+
The opening win provided arguably Jacobson’s best contribution, with a try complemented by several important interventions at the breakdown.
The influence dipped at DHL Stadium before recovering somewhat in the third Test.
Three appearances brought plenty of physicality and graft, although the flanker never quite maintained the same level of impact from Test to Test.
Ethan Blackadder: B+
Twenty-one tackles. Strong carrying. Excellent cleanouts. A try to drag New Zealand back into contention.
Blackadder packed an enormous amount into the fourth Test at M&T Bank Stadium and arguably produced the All Blacks’ best individual performance of the finale.
Given it was the only appearance of the tour, the impact was particularly impressive.
Leroy Carter: B
The second Test provided Carter with an immediate opportunity to announce himself, and the winger took it.
Involvement in McKenzie’s try was followed by a superb finish of his own, highlighting both pace and intelligent support play.
The third Test was quieter, but two appearances offered enough evidence that Carter can contribute at Test level.
Damian McKenzie: B
There were flashes of the McKenzie brilliance New Zealand needed, even if consistency proved elusive.
Two linebreaks and several dangerous moments stood out at DHL Stadium, while the fourth Test saw the fly-half help ignite the late first-half resurgence.
Handling errors and missed opportunities, however, repeatedly stopped those bursts of influence from becoming decisive.
Asafo Aumua: B+
Impact from the bench became Aumua’s trademark contribution.
The physicality around contact areas was particularly useful in the second Test as New Zealand launched a late comeback, while Baltimore brought another energetic spell featuring strong defence and an excellent tackle on du Toit.
Lineout problems remained an issue, but the explosiveness was never in doubt.
Tupou Vaa’i: B
One of Vaa’i’s best moments came in the opening Test, when powerful carrying at Ellis Park was followed by a clever assist for Moorby’s try.
The performances became less convincing thereafter, with penalties and missed tackles creeping in.
Even so, useful breakdown work and the ability to cover the second row added value throughout the series.
Simon Parker: B
Only one Test, but Parker certainly made it count.
Physicality was immediately apparent at DHL Stadium, including a strong battle with Wiese and a notable linebreak after Bower’s offload.
There was little opportunity to build on that showing, yet the lock left the impression that more Test rugby could have produced an even stronger contribution.
Ruben Love: B-
The opening win was Love at his assured best, with sensible game management and a dependable kicking game helping New Zealand secure victory.
The picture changed in the next game as the Springboks intensified their linespeed, leading to an intercept and costly offload.
Replaced by Mo’unga in the final Test, the fly-half never rediscovered that opening-Test confidence.
George Bower: B-
Scrum stability was Bower’s biggest contribution in the second Test, where the All Blacks produced a considerably more competitive set-piece performance.
A well-timed offload also created Parker’s linebreak.
The follow-up appearance in the third Test was much quieter, leaving the prop with a solid rather than spectacular tour after his strongest display at DHL Stadium.
Sam Darry: B-
Across the final two Tests, Darry offered plenty of defensive effort without quite becoming a major influence.
FNB Stadium gave little room for the lock to flourish as South Africa took control, while the final Test exposed some weaknesses, including being caught by van den Berg’s dummy.
Twelve tackles demonstrated commitment, although the lineout was less convincing.
Rieko Ioane: C+
An awkward assignment awaited Ioane in the final Test, entering during one of the All Blacks’ more difficult spells.
The start was untidy, but a superb recovery tackle on Arendse demonstrated the defensive quality still available.
Beyond that moment, there was little attacking involvement, with limited minutes making a meaningful impact difficult.
Patrick Tuipulotu: C+
Back for the finale, Tuipulotu never quite found the physical presence normally expected.
An early offside penalty was followed by some useful ruck work, but the carrying lacked its customary punch.
With only one appearance, there was limited time to influence proceedings, leaving the veteran lock with an underwhelming return.
Kyle Preston: C+
Neither of Preston’s two appearances lasted long enough for the scrum-half to properly establish himself.
There was a clear desire to increase the tempo and move the ball quickly, but South Africa’s defensive pressure made that increasingly difficult.
Plenty of intent was visible from the bench without a decisive moment emerging.
Samisoni Taukei’aho: C
Introduced at FNB Stadium as the Springboks tightened their grip on the contest, Taukei’aho found himself entering a game where New Zealand had little possession or territory to work with.
That made a significant impact difficult, and the hooker ultimately struggled to leave much of a mark during the limited opportunity.
Xavier Numia: C
FNB Stadium was a difficult outing for Numia, but Baltimore offered some redemption.
Defensive work stood out in the finale, particularly a strong tackle on du Toit that forced the ball loose.
The overall contribution remained limited, though, with little attacking influence and only two appearances preventing the prop from building any real momentum.
Fletcher Newell: C
The contrast between Newell’s two appearances was encouraging, even if the overall tour remained inconsistent.
The third Test was forgettable, whereas M&T Bank Stadium saw the prop effectively contain Nche during the opening half and force a penalty by winning an illegal scrum position.
That improvement offered a glimpse of Newell’s potential.
Josh Moorby: C
A brilliant try in the opening win remains the standout image from Moorby’s tour, created by taking Vaa’i’s offload and finishing well.
Unfortunately, that was not matched by sustained quality. Defensive concerns persisted, attacking influence disappeared at DHL Stadium, and a dropped McKenzie pass in the final Test directly preceded a decisive Springbok score.
Richie Mo’unga: C
After nearly three years away from Test rugby, Mo’unga showed flashes of the class that made his return so anticipated.
Passing helped New Zealand start positively in the final Test and a covering tackle on Arendse was encouraging.
Missing touch after relieving pressure was costly, however, while the second half faded considerably. A mixed comeback.
Tyrel Lomax: C
Consistency proved elusive across Lomax’s four appearances.
The opening scrum battle with Nche at Ellis Park eventually swung the Springbok’s way, while DHL Stadium brought penalties and defensive mistakes.
M&T Bank Stadium represented a clear improvement, with the scrum holding firm during the time on the field, but overall influence remained below the required level.
Beauden Barrett: C-
There was barely enough time for Barrett to influence the final Test, with the All Blacks already facing severe pressure when the replacement arrived.
One positive moment came through a try-scoring carry, only for a poor pass later to contribute to Hanekom’s score.
Ultimately, it was a brief and largely inconsequential cameo.
Codie Taylor: D+
Taylor’s work rate around the field could not disguise an inconsistent series.
The opening Test at Ellis Park was particularly problematic, featuring multiple infringements and a yellow card alongside scrum and lineout difficulties.
Cape Town brought a significant improvement, but further penalties and break-foot issues resurfaced at M&T Bank Stadium. Across three appearances, the good moments were simply too infrequent.
Anton Lienert-Brown: D
Three appearances produced very little sustained influence from Lienert-Brown.
A lively second-Test cameo offered some encouragement, but the third Test was quieter before he completely flopped in the final game.
A missed tackle, poor cross-kick and loose-ball errors all contributed to another frustrating outing as the All Blacks struggled badly against the Springboks.
Ethan de Groot: D
Injuries prevented de Groot from ever building momentum.
A knee problem and head knock brought the Johannesburg outing to an early end after 40 minutes, while another scrum penalty preceded a 49th-minute departure in the final Test.
Across the two appearances, there was never enough continuity to produce the dominant performance expected from the prop.
Josh Lord: D
Opportunities were scarce for Lord from the outset.
A clash of heads ended the Ellis Park appearance before half-time, although six carries and a useful tackle on Nche had provided some encouraging signs.
The final Test brought only a brief replacement appearance, meaning injuries and limited playing time ultimately defined the tour.
TRENDING


LATEST NEWS

LATEST COMMENTS
- Jordie Barrett over Damian de Allende is far from being correct. The hype around Dupont is also overreaching, he's probably 4th in the world and has been since the 2023 WC. He also avoids certain matchups which is strange. The rest of the list is pretty good apart from minor subjective biases.JasonMarlow16-09-2026
Loading